Hello everybody,
I asked this question already at liftgammagain but I thought it might be a good idea to ask here as well.
As the topic already says I am trying to get .cr2 files from a Canon 5D MKII into ACES.
I tried many ways already - some results are quite close to what I was hoping to get, but I am not not satisfied yet.
So before I try to describe what I experimented already, I would like to ask you if there is any official way to do it.
I am currently comparing the results with a clip from an Arri Alexa. If you need any more information and/or footage, just let me know.
Hi,
As far as I’m aware you need to debayer the cr2 through a dcraw script with some specific functions and then apply an IDT that has been created already.
I will look into it, unless this is the process that you are already doing.
Hi,
i have got a couple of options for making this work. If you wanna send me a still and a reference I will do some tests for you.
You can write to giardiello@babel.digital
Hello again,
did you receive my mail? WeTransfer told me that the files have not been downloaded yet.
If you have time to do tests again, just let me know and I will upload again.
We shot with mixed lighting by purpose. But set both cameras to 5600k. If the frames are problematic I could also send you some 3200k frames without mixed lighting.
Ok. Looked it again.
If possible, I would like to have a shot with WB neutralized on a 18% gray. Before take the shot, for both cameras, you should make sure that the 18% gray has equal RGB values, you can use the auto WB on both cameras if you want. Make sure that you do it in the exact same light conditions, with the same light reflection on the 18% card and possibly from the same camera position and angle.
Once the WB is done, please note it and then take the shot with both Alexa and Canon camera, again possibly from the same camera position.
They WB on the shots you provided wasn’t neutral, even if you have used the same K temperature, lenses have flare and color aberration that makes them look different. If you want to create a LUT that works, white balance should always be neutralized.
Unfortunately I don’t have access to an Alexa for further tests.
I was hoping for a rather generally valid Canon 5D IDT. Isn’t that the way it should be?
Did you plan to generate a LUT based on the cr2 and Alexa files?
I will send you some frames from another test setup. The WB won’t be perfect, but should match roughly.
CR2 is a stills format, and therefore is specifically encoded for a display referred pipeline. In Resolve it is treated in a similar way to Adobe Camera Raw, and you’ll notice if you enable Highlight Recovery that the white point shifts down to accomomodate extra highlight detail so that the signal never goes above 1.0. There are other limitations too, such as non-access to Resolve Colour Management. Therefore you should convert your CR2 files to CinemaDNG before proceeding further.
Now, although the previously inherent display referred limitations are lifted (RCM works and and highlight recovery allows values over 1.0), there still is the paradox of CinemaDNG to contend with. CinemaDNG is still based on Adobe’s display referred intended stills format, in that it maps the full signal into the 0.0 to 1.0 range i.e. sensor saturation is mapped to 1.0 as opposed to the scene referred approach where reference white (90% scene reflectance) is mapped to 1.0. Now, unless 5D raw reaches sensor saturation around 2.2 stops above middle grey (18%) it would appear that some signal scaling is occuring, so perhaps it’s worth looking into reversing that scaling in order to attain the actual scene referred values, and from there (with the signal in linear light) it should be a simple matter of a 3x3 matrix to convert to ACES primaries.
CR2, like pretty much all RAW formats, is scene referred linear under the hood.
It only becomes display referred when some sort of picture rendering is applied. Normally this just happens without the user being aware by whatever RAW developer they’re using, but the values stored in the file are all generally scene linear.
Simplest way to get a handle on this is by using dcraw to debayer to a linear 16bit tiff.
Try something like:
dcraw -o 1 -4 foo.cr2 (For a linear sRGB/Rec709 prim image)
If you want to treat dcraw as a sort of generalized faux IDT system you can use -o 5 to spit out scene linear XYZ, which is easy to flip to ACES.
Keep in mind that those the values will all be within the 0-1 range. This is just because the sensor is saturating/clipping at 1. Scaling those values up so your grey card is at .18 will push lots of them into the “above 1” superwhite range.
Thanks Alex for your help. I spent some time with dcraw and I got good results with some easy cr2s.
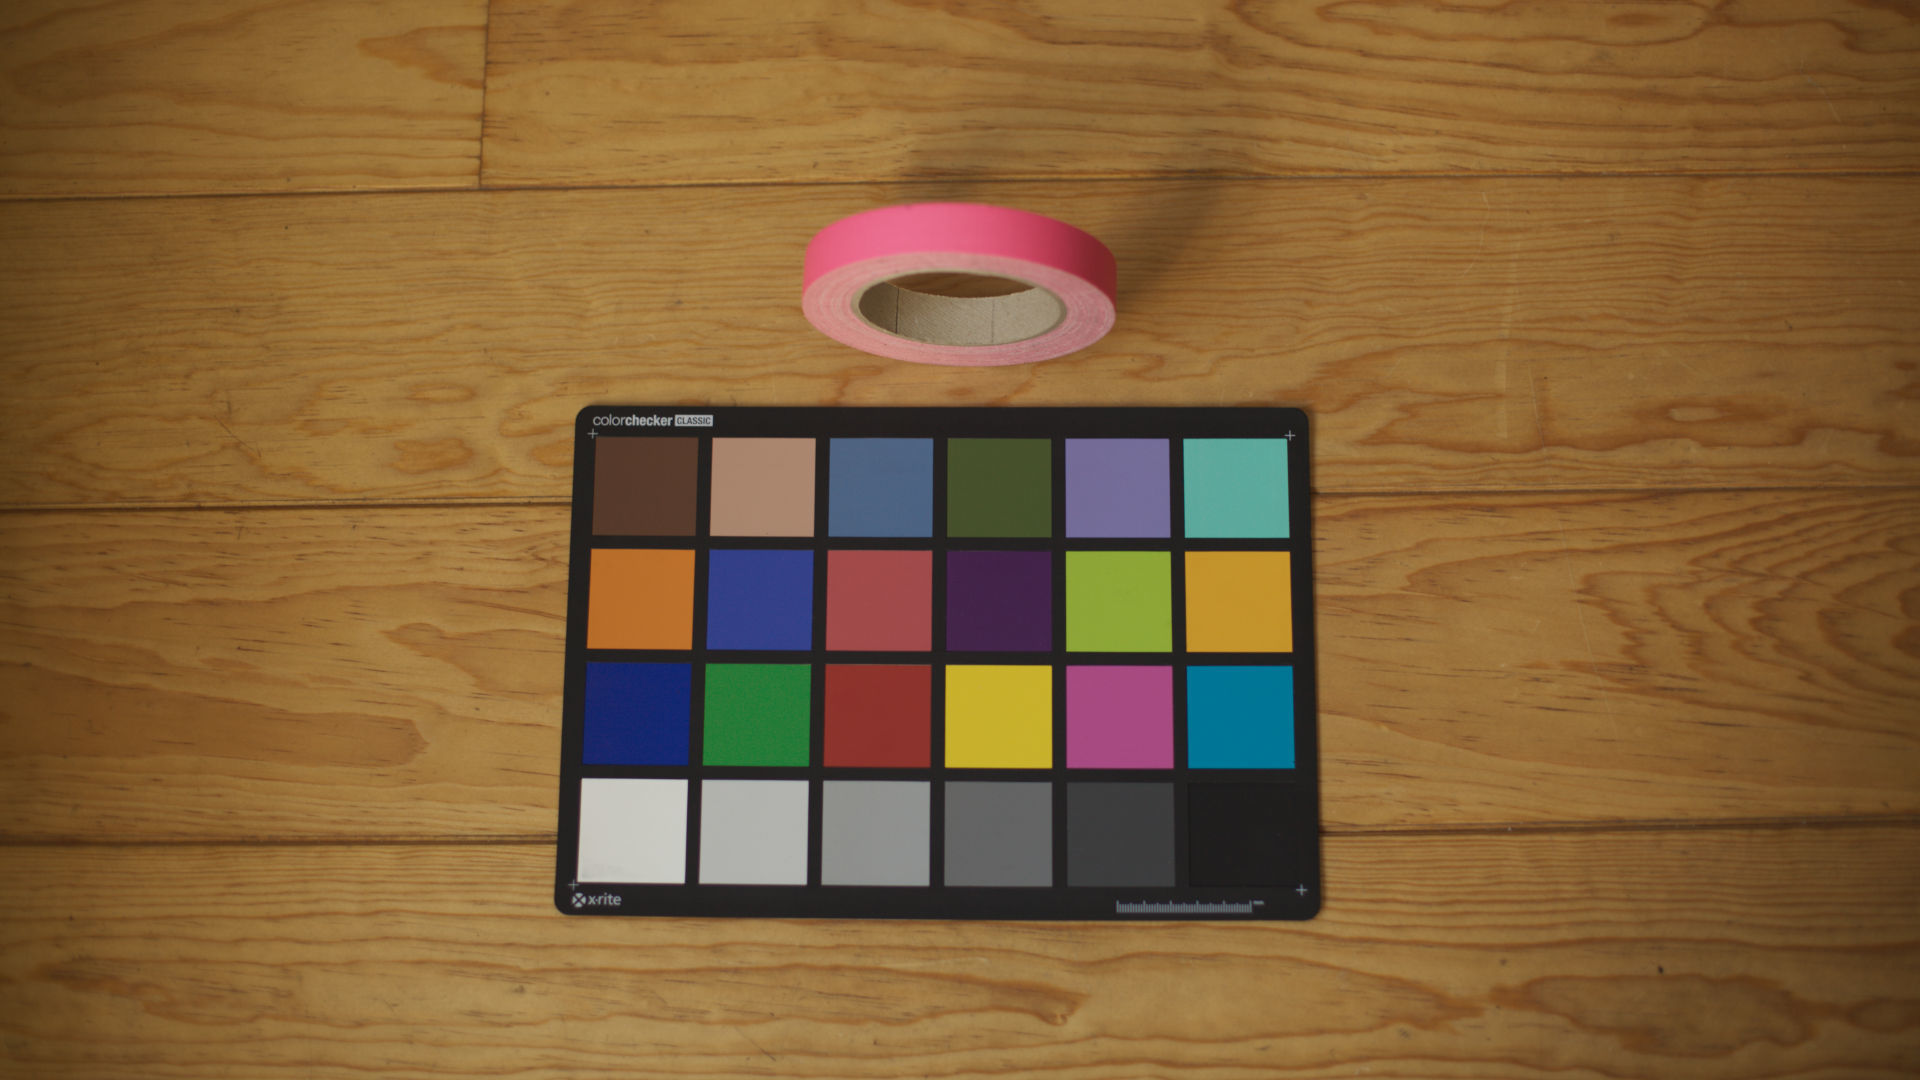
I took a picture of a colorchecker with 0EV and used with dcraw like that:
dcraw -v -o 5 -4 -T -H 2
Then I imported the resulting TIFF in a Nuke setup set to ACES and put the read node to “Utility - XYZ -D60” and multiplied the 50% grey patch to a value of 0.18. Result (rendered with a Rec709 ODT)
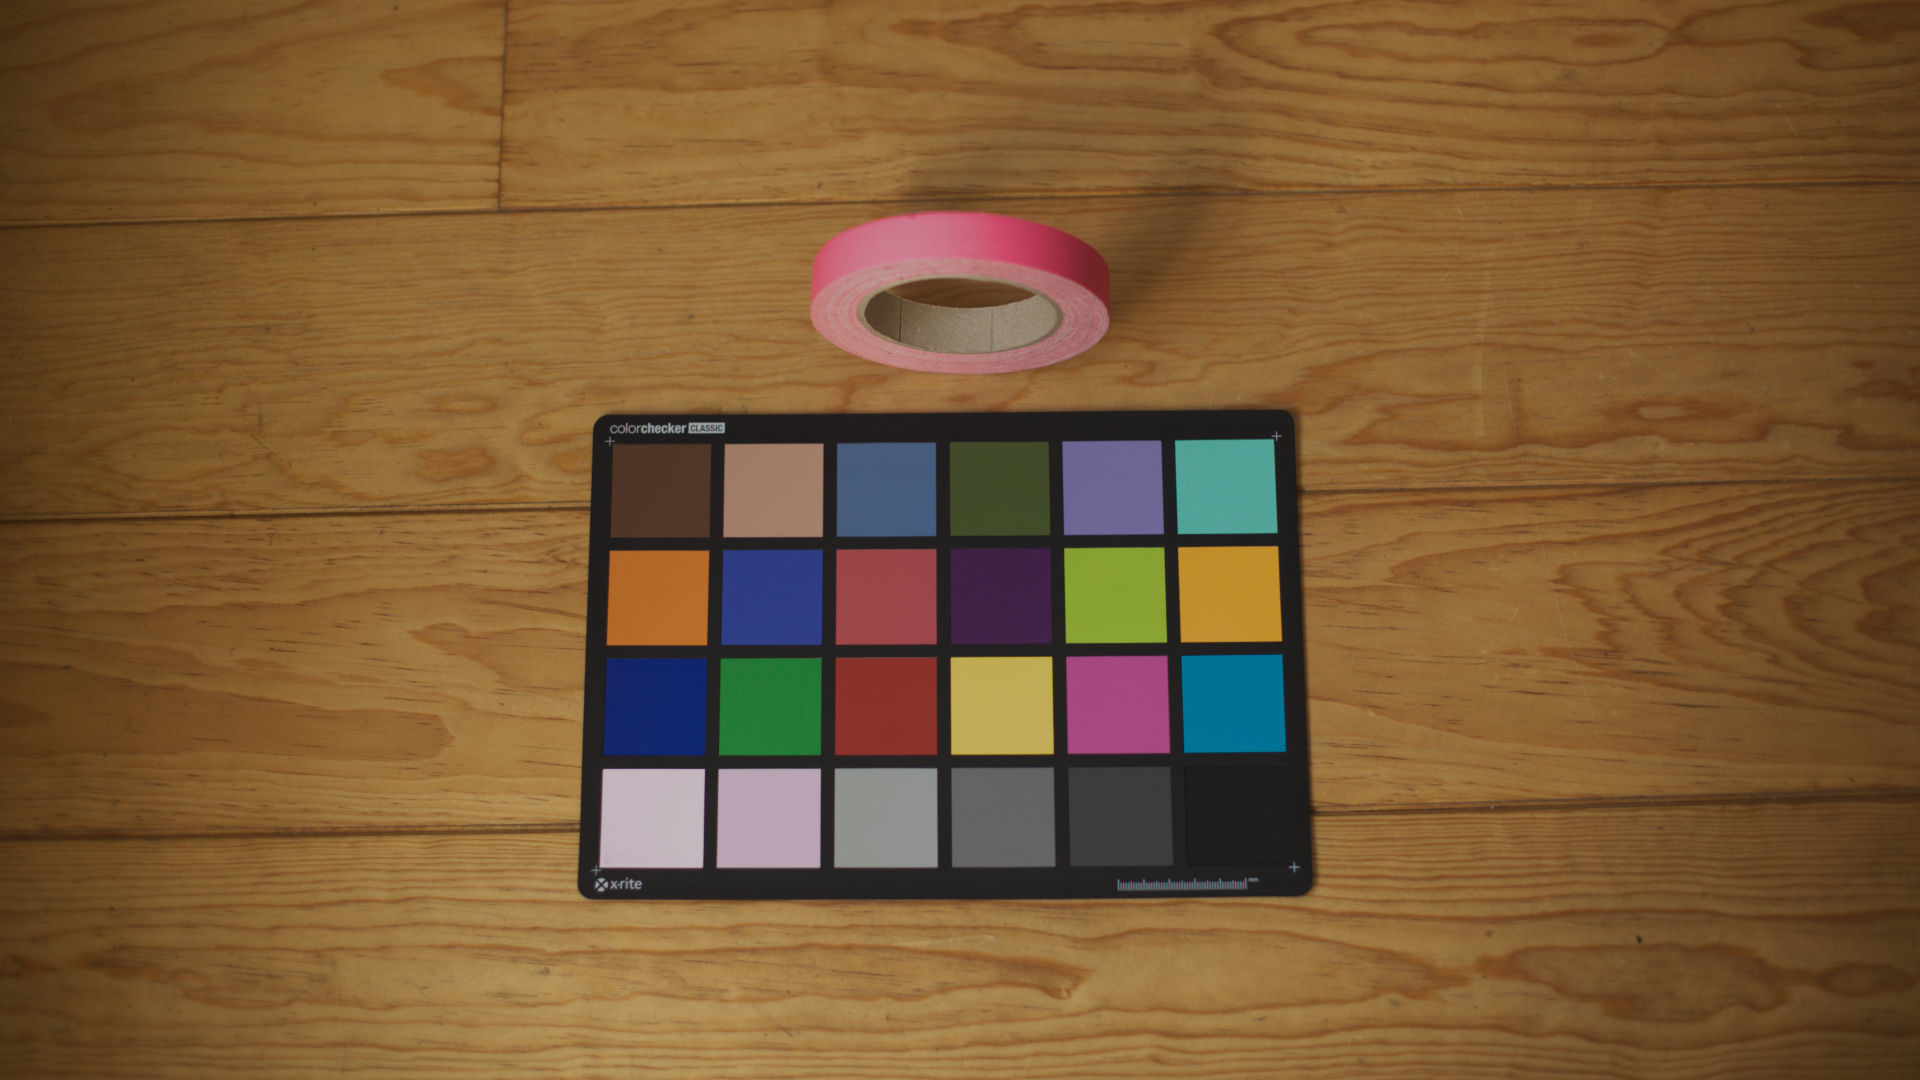
All good so far. But it is getting really weird if I try the same thing with a picture which is overexposed.
In ACR I can easily recover all highlights with a neutral color and even the colorful tape is not getting desaturated in the bright parts. The best result I can get from dcraw is that:
-H 2 makes the bright patches already a bit more neutral, but still far away from really good.
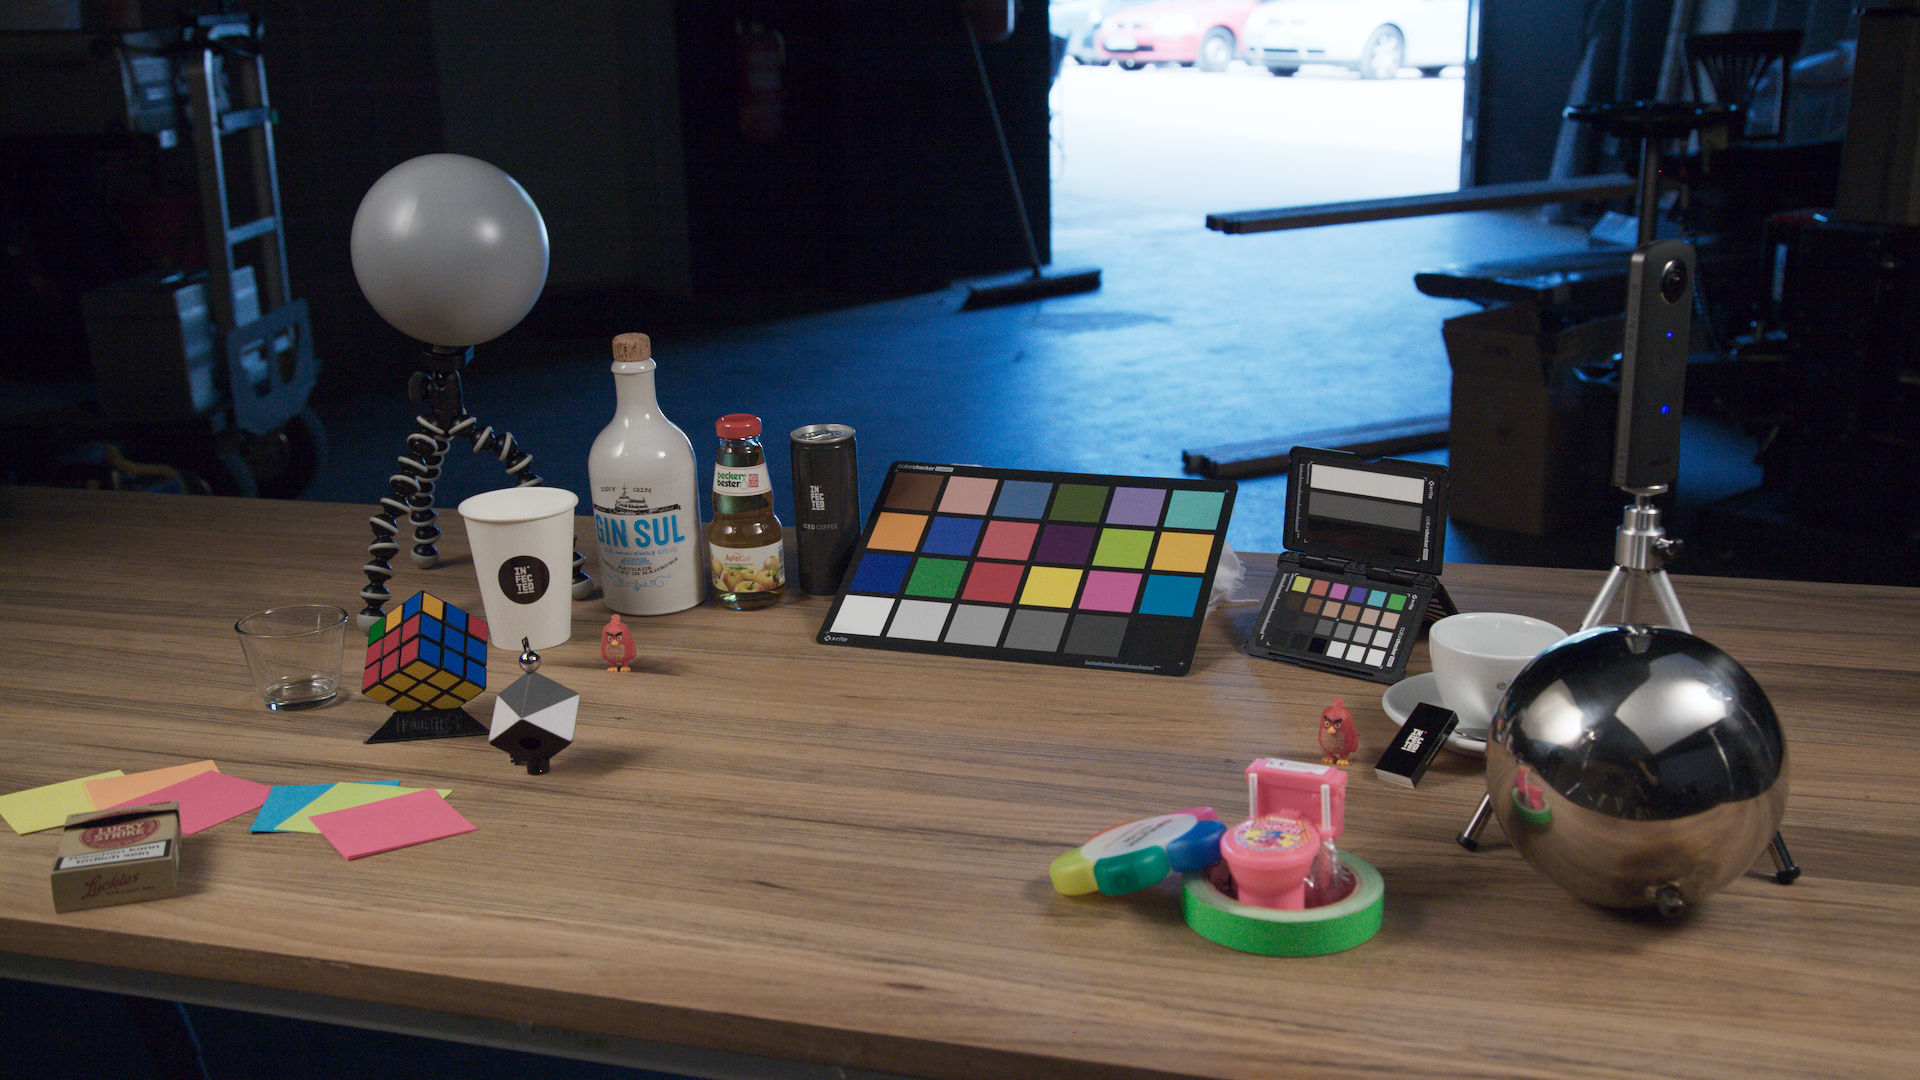
Antoher example where dcraw does not a good job with my current settings is a test setup with a big dynamic range and mixed lighting. Especially the reds are getting dull and magenta:
I tried different parameters, but still the is the best result I can get. The white balance in dcraw seems to a have a big influence on the final colors. Resetting the multipliers with -r 1 1 1 1 is not too bad, but produces very saturated images.
Do you have any other ideas to improve the process? I can send you the RAW files if you like.
You need to specify if you want a 16bit uncompressed Linear TIFF in DCRaw (-4 -T) else you will, by default, get an 8Bit Rec709 (2.2 gamma) TIFF - although the 16bit Linear TIFF will probably look too dark in Nuke (I thought ACES was scene-referred linear!?).
DCraw can also write ACES primaries (-o 6) but regardless of this you may still get some clipping because of the TIFF integer format - hence why the ACES container is half float EXR.
HA! I had no idea dcraw now supported ACES directly now, that’s awesome!
As for the clipping, 16bit TIFF being an integer format is only an issue if you’re actually trying to store values above 1, which isn’t an issue at this point. It’s only when you scale up the “too dark” data.
More or less all RAW formats are 12 or 14bit integer black and white images. There isn’t anything “above 1”. Highlight recovery is either scaling down values that the default display transform deemed over exposed (but are still under 1 in the original RAW data), or values being interpolated from other unclipped channels.
If you want to get a really clear look at whats actually in your RAW files, use dcraw’s “document mode”
-d Document mode (no color, no interpolation)
-D Document mode without scaling (totally raw)
This basically dumps the raw un-debayered sensor data into a tif. From there you can really poke around and see what’s going on, even build you’re own debayer system from basic nuke nodes. (I’d recommend this as an interesting technical excercise, not a practical solution to debayering images).
As for ACR producing better highlights on the tape, I’d simply put that down to Adobe having more sophisticated highlight recovery. Whilst it’s not always the easiest tool to integrate, Lightroom is very impressive on that front.
That is exactly what I did. As I wrote in my post above I used “dcraw -v -o 5 -4 -T -H 2”
Did the -o 6 come with the update to DCraw 9.27? I am currently on 9.26 and it seems it is not working here. But thanks for the info!
Alex, do you have any information about how to integrate Lightroom in an ACES Workflow? Would be awesome if one could adjust a Rawphoto in Lightroom and export it into ACES colorspace after that.
Adobe Camera Raw (ACR) and Lightroom colour processing apply various non-linear adjustments to your images which will get in your way if your are trying to work with scene referred values:
Hue Twists which is a look up table embedded in the .dcp profile of your camera and usually attempts to bring the camera processed colours closer to those of a perfect colour rendition chart, it is also used for creative intent. Most of the time they are bad: http://dcptool.sourceforge.net/Hue%20Twists.html
So the first thing in order to get back into relative scene referred luminance values is to get rid of those two adjustments, it can be done by tweaking the .dcp profile of your camera. Lee Perry Smith has recently made a step by step tutorial on how to remove the Adobe Tone Curve here: http://www.triplegangers.com/index.php/blog/cat/technology/post/linear-pipeline/ and you can get rid of the Hue Twists by using dcpTool.
Once you have done that you could export to a regular sRGB or ProPhoto 16-bit integer tiff file and convert your values to ACES using your preferred method.
The caveat doing so is that you will have lost the extra dynamic range of your image (anything above 1.0 will be lost), there is unfortunately to my knowledge no elegant solution at the moment to keep it if you want to still work with Adobe tools.
Hi folks - I just joined this community and this is my first post here, so if I am posting redundant information, I apologize. If you are interested in using an ACES color workflow during raw conversion, including Canon CR2 files, you may want to take a look at the (Mac-only) raw converter called “Iridient Developer” - http://www.iridientdigital.com.
With the release of v3, the converter utilizes ACES with an sRGB tone curve as its internal working space and provides the capability to export your RGB processed image in that working space as well as whichever ACES ICC profile you may have installed on your machine. The quality of the converter itself is widely lauded in the photographic community, although it does not have the market presence of adobe.
Download the trial and take the time to work with some of your test images to see if this fits into your workflow.